
Hey there! I have a quick idea to share with you today.
As we teach children to read, an important part of any literacy program is teaching the skill of decoding. Providing our students with ample opportunities to practice their decoding skills helps develop them into strong readers and writers.
There are lots of ways you can work on decoding with your students. I usually use small white boards, and I’ve also used letter tiles or letter cards.
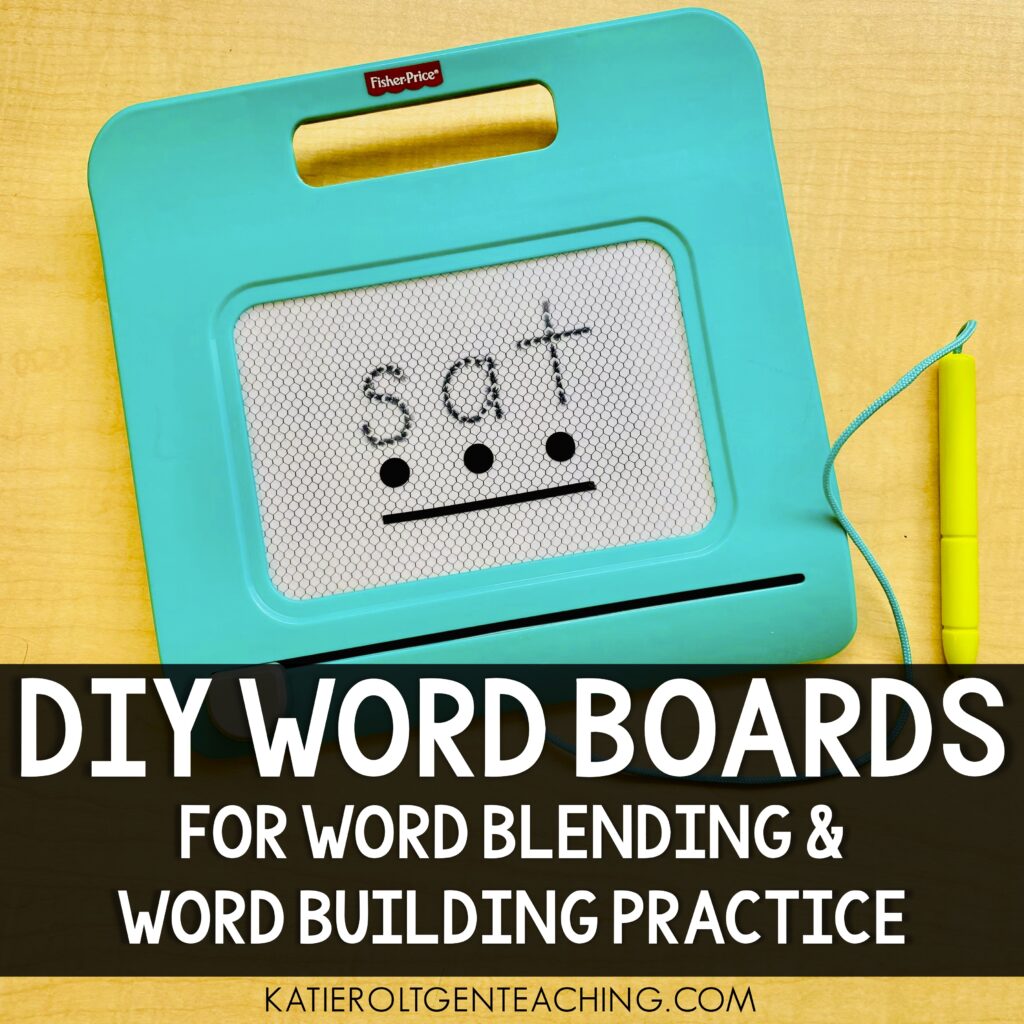
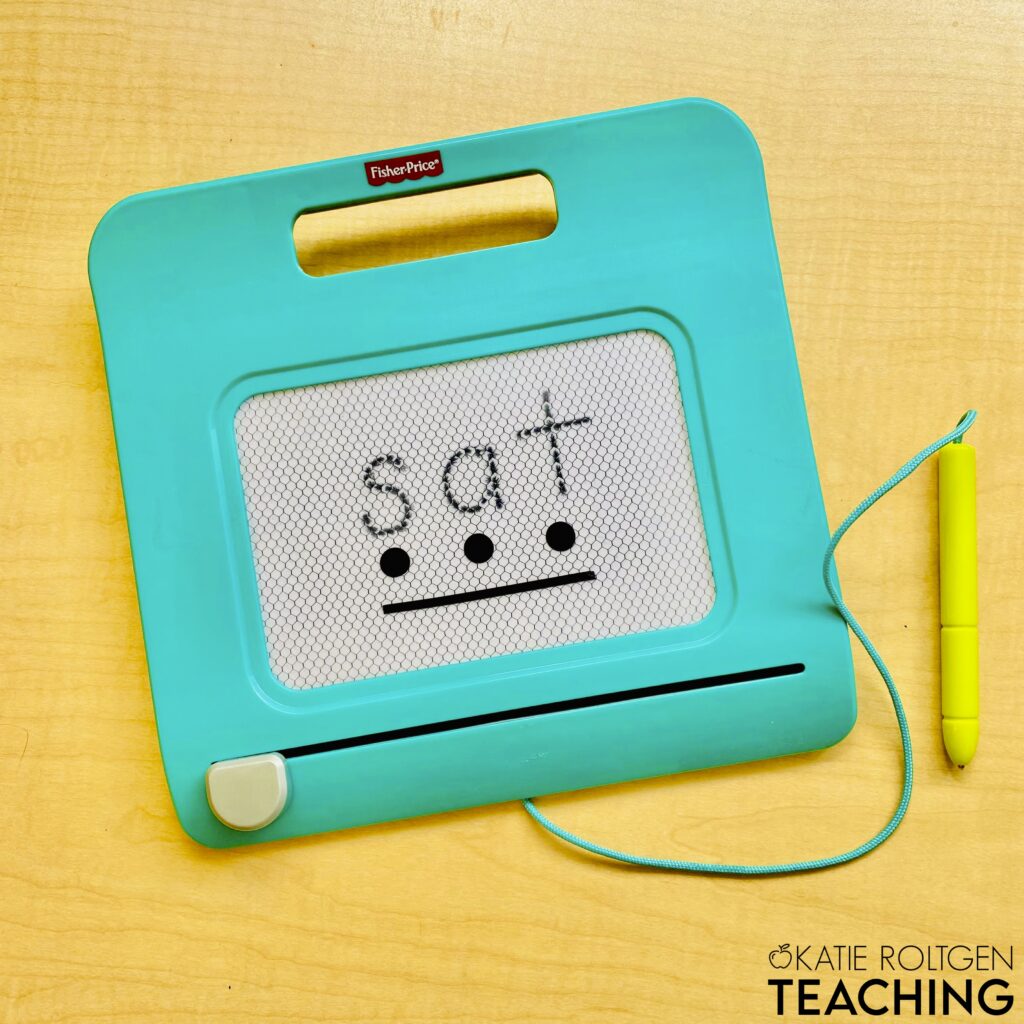
Recently, I found this slide-to-erase magnetic drawing board at a garage sale (only a dollar!) and thought it would make a great word building or word blending board. Students could simply write a word and slide to erase! The pen is attached so no time is wasted searching for dry-erase markers that aren’t dried up.
Materials needed for making your own word blending boards
To make these boards, you’ll need the following materials:
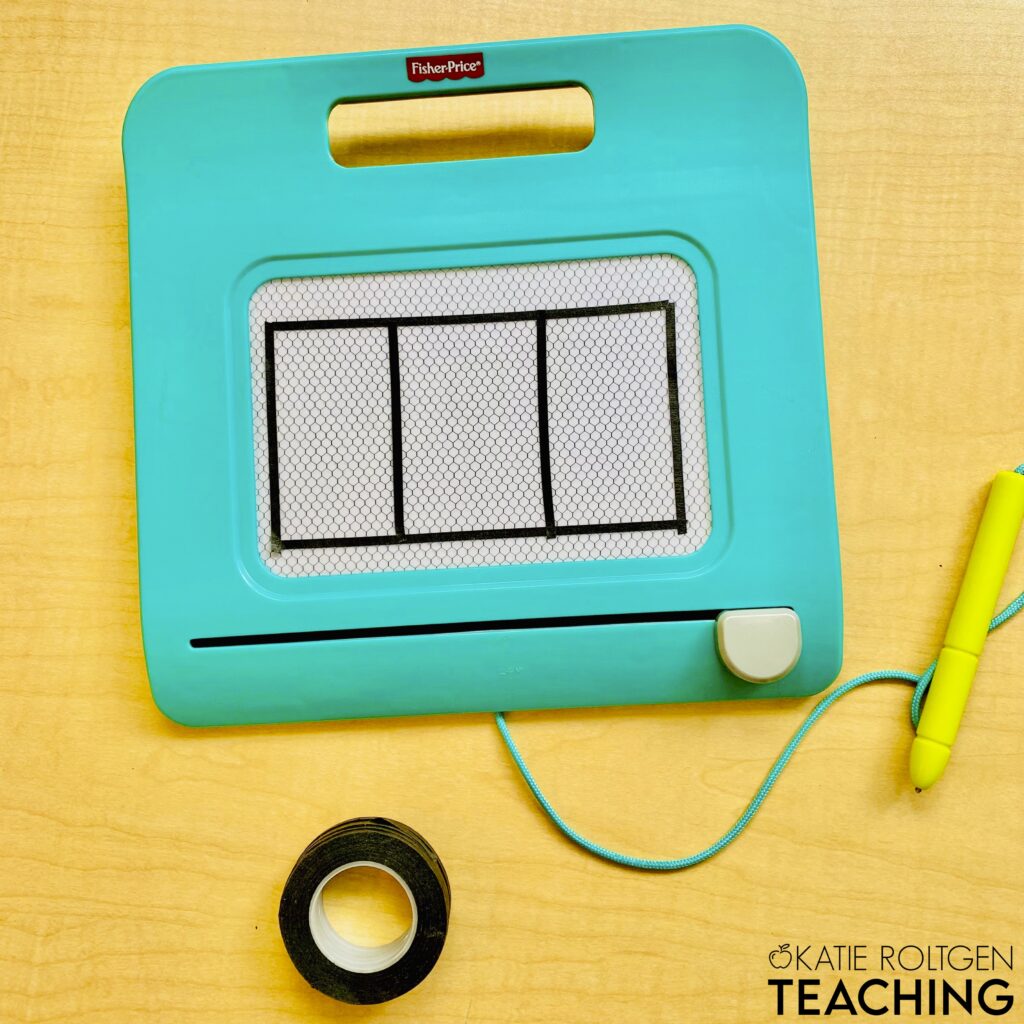
- Magnetic drawing boards (you can buy individual ones like these or try a bulk pack of smaller boards for a class set)
- Dot stickers
- Thin tape (I used this super thin 3mm tape)
How to make a word blending board
Once we have the materials, it’s important to think about how to put the board together. We’re using the dot stickers for each letter, and the thin tape will go under the dots for students to slide their finger on.
Tip: If your students need to move beyond tapping sounds, just skip adding the dot stickers!
Depending on your students’ needs, you may use two dot stickers for two-letter words like “at”, “in”, and “up”. I’m using three dot stickers since that’s most typically what I would use throughout the kindergarten year.
Simply place the dot stickers as evenly spaced as you can. Then put a thin tape strip under the dots.
How to use a word blending board
Word blending boards come in handy in so many ways! Here are just a few ideas for using them:
- Decoding: Using letters that your students know or are learning, think of a three letter word, such as “hat”. Write the word “hat” on your board to model, and ask students to do the same. Model how to tap each letter while saying the sound, then go back and slide your finger on the tape strip to blend the sounds.
- Writing words: Again, using letters that your students know or are learning, tell students a three letter word. Model how to stretch the sounds and write the letters on the board.
- Sound substitution: This activity is a little trickier, but extra fun with magnetic drawing boards. You’ll want to make sure students have the slider at the beginning or end of the word, depending on whether you’re substituting beginning or ending sounds. Have students write a word, such as “hat”. Then ask them to erase the first sound, write an “m” in its place, and read the word. You can also tell them to change the word to “mat” and have them determine the correct letter to write.
- 1-2-3 Show Me: Hold up a picture of a CVC word. Have students write the word on their boards. Once every student has written the word, say, “1, 2, 3, show me!” and have them turn their board around.
- Center activity: Place pictures of CVC words that have sounds your students know or are learning. Students will write and erase each word on their blending board. You can make the cards self-checking by writing the word on the back of each card.
Looking for more decoding practice activities?
Having a variety of ways for students to practice decoding words is easier than ever!
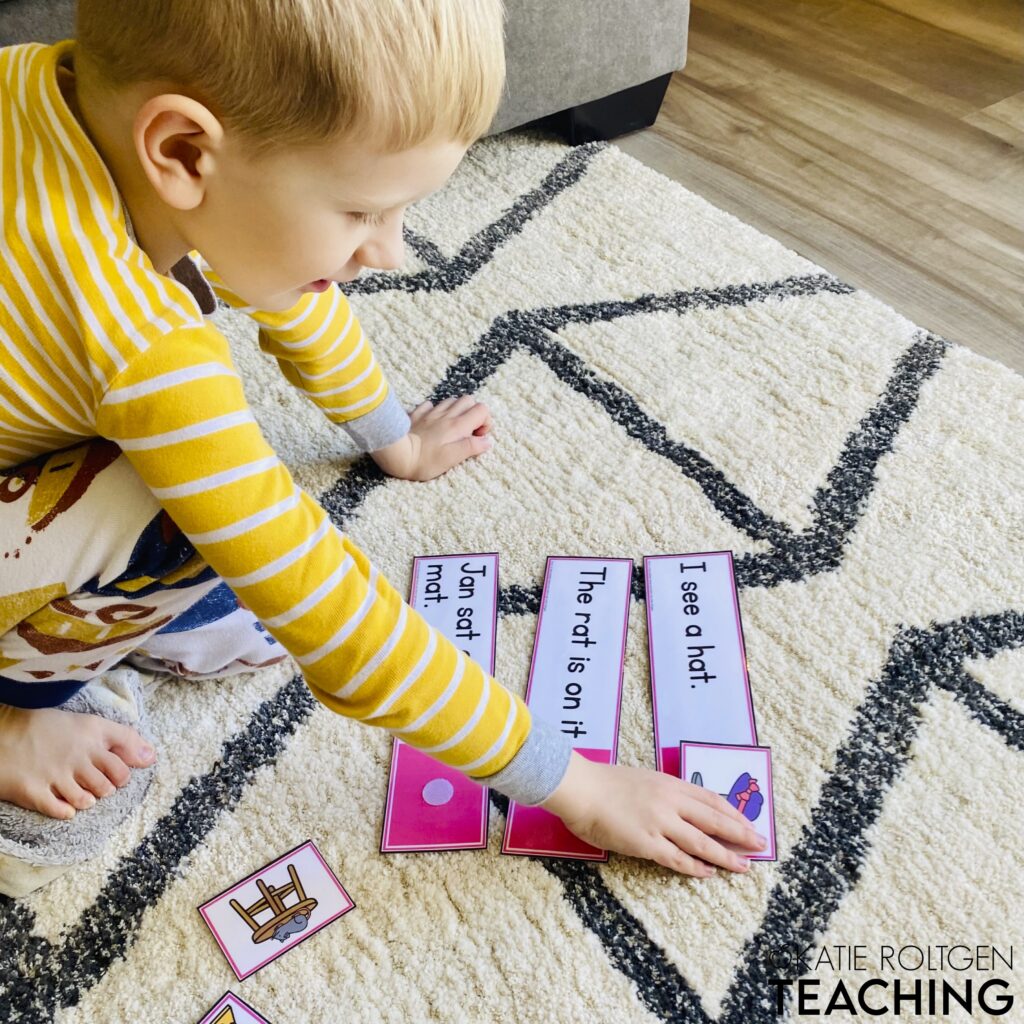
If you’re looking for more word-level decoding practice, I have printable literacy games that have a ton of opportunities for CVC word skill practice. You can read more about those here!
I have a decodable activities bundle that’s designed with a mixture of hands-on activities and no-prep printables.
I’ve been using sone of these activities with my own son who will be five in April, and he loves them!
I hope you’ve enjoyed reading about how I made my own word blending boards! Let me know if you end up making these or anything similar.
I share lots of ideas on Facebook and Instagram, so head over and follow me there if you’d like!


